Welcome to this step-by-step tutorial of my speech-bubble scripts for Photoshop 4 and above. The speech bubbles generated by this script are properly transparent and antialiased, and the script works best with text that is about or under 30 pixels tall, but can be modified to work with larger text. Keep in mind that the scripts available on this page are copyrighted by me, Alan Mackey, and cannot be redistributed without my permission, but are free to use.

How to set up the scripts on your computer:

  1. Click here to download the scripts.
  2. Once downloaded, unzip the archive to a safe place on your hard drive.
  3. Now you can add the scripts to the Actions Palette in Photoshop. Unless you remove these actions later, you should not have to do this again.
  4. In Photoshop, call up the Actions Palette. If it is not already visible, it will be under the Window menu as "Show Actions".
  5. Click on the menu button on the Action Palette (the triangle on the right, just under the title bar) and select either "Load Actions" to append the bubble actions, or "Replace Actions" to discard all previously loaded actions.
    Your Actions Palette should now look something like this:

    Note that these actions will only work with images that are in RGB mode! This means that they will not work with Greyscale, CMYK, or Indexed Color images unless the scripts are modified to do so. If you do want to do speech bubbles on an image that is not RGB, I would recommend making the bubbles in a seperate image that is in RGB mode, then converting the bubbles to the same mode as the picture when copying them in.

    How to use the scripts to make great-looking speech bubbles:


    Have the image you want the text over ready.
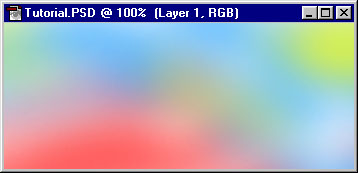
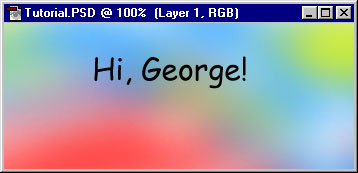
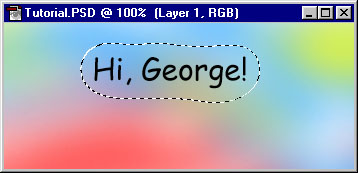
    Make the text you want to have in a single bubble. This text must be black, and by itself on the top layer.

    Note: Users of Photoshop version 5 will need to change this layer to a text layer. This is done using the command in the Layer menu, under the Type submenu, called Render Layer.
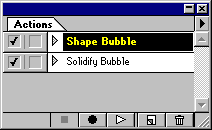
    Play the Shape Bubble action and wait for it to run its course. When it stops, you should see a selection in the shape that the speech bubble will take.
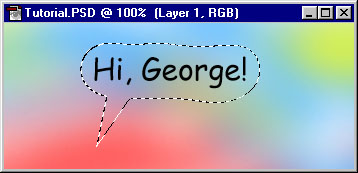
    If you want to add any stems to the speech bubble, or to do any other modifications to it, now is the time. Simply add these elements to the selection. This step is a demonstration of how a stem would be added, and is an optional step: Select the Polygon Lasso tool, and holding down the shift key, add a triangle to the selection in the shape you desire.
    Play the Solidify Bubble action. A new layer will be created with the speech bubble in it.
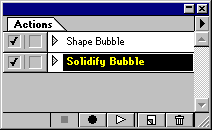
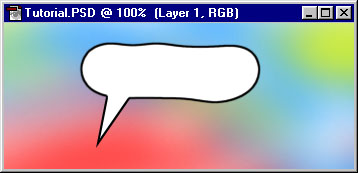
    Since the Bubble's layer is created on top of the text, you will have to move the text to the layer above it. These layers can then be merged.
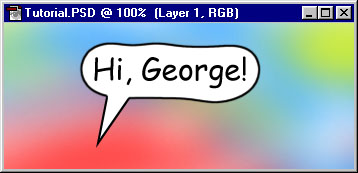
    You can repeat this process over and over again for multiple speech bubbles. Having each bubble on its own layer is convenient for layout, because it is easy to adjust the bubbles' position and depth. Once you are satisfied with the layout, I recommend merging their layers to save memory.

    Well, that just about covers it. Any questions can be directed to me. Happy bubbling!

    Click here to return to my home page.