| Back: A Background of Brushes | Home | Next: Making the Image Internet-Ready |
| Al's Photoshop Tutorial | New Course (Versions 7.0 and above) |
This image is just about complete. All that's left to do is to put some indication on it of who made it. This is important especially if you're planning on releasing your images to the Internet.

Users of older versions of Photoshop may be shocked to find their old text-input interface gone. When
you select the Horizontal Type tool and click in your image to place some text, you now just write
directly on in the image. It should still appear on its own layer, but all your controls are at the
top of the screen in the tool bar. These work a lot like any regular word processor and shouldn't be
any problem to figure out.

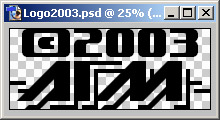
If you've got a logo you want to use on your pictures, it's a good idea to make a file that has this
logo on a layer with proper transparency that you can just duplicate into your pictures, and move and
scale it into place with "Edit » Transform » Scale".

If you're going to have a logo or text that closely matches some of the colors behind it, it's a good
idea to try to separate them. Select the appropriate layer and do "Layer » Layer Style »
Drop Shadow". On this page, you can define a layer style that's applied to the layer as you're working
on it. Other effects in the same style menu are sometimes good, but don't go overboard on them.
| Back: A Background of Brushes | Home | Next: Making the Image Internet-Ready |