| Back: Flat Coloring | Home | Next: Shading |
| Al's Photoshop Tutorial | New Course (Versions 7.0 and above) |
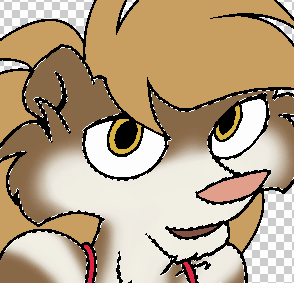
Now that we have some basic flat colors down, we can add some detail soft colors. In this case, Moufette here only needs one layer of soft color because her fur really only has two tones, but if you're doing something more complicated, you can repeat the actions on this page to make many layers for soft colors. Or, on the other hand, if your picture has no color details like this, you can skip this step, but please read through it, as a few new concepts are covered here that will be used again in shading.
First, if you had turned on the ink layer, turn it off again - we need to be able to see clearly what we're doing. Select the color layer, make a duplicate, and name it "Soft Color". Deactivate the first color layer, and then do the same process we did in step 5 to delete all colors but black from out new color layer. That is, get black as your foreground color, use "Select » Color Range" to select everything but the blacks, delete, and deselect. Once it's clear that the layer is now just black and transparent, turn the old color layer back on, making sure our "Soft Color" layer is on top of the flat "Color" layer.
Now it's time to learn about the Magic Wand tool. Select it and look at its options bar. It should read New Selection (icon), Tolerance: 0, Anti-Aliased not checked, Contiguous checked, Use All Layers not checked. Now, when we click inside an area, it should select itself and nothing else. For multiple areas, you can hold down shift and click on some more.
Once the right areas are selected, we can use the airbrush tool or the paintbrush tool with one of the large, blurry brushes to add our detail colors.
I like to keep the detail colors in a separate layer just in case the base color ever
needs to be changed, and also so it's easy to add more detail colors when shading is
completed.
| Back: Flat Coloring | Home | Next: Shading |