| Al's Photoshop Tutorial | Old Course (Versions 4.0 through 6.x) |
Step 9: Highlights
A good counterpoint to shading is highlights, where parts of the image are airbrushed
lighter. You have to be kind of careful to keep it subtle, because highlight can make
things look wet or rubbery if it's too bright or too sharp.
Start this layer off the same way as the shade layer, by making a copy of Color, but this
time call it Highlight. Use the same old process to get rid of the black linework, but this
time you'll want to fill the rest with black instead of white. Move this layer just above
the Shade layer, and set its mode to "Screen". Screen works the opposite way of multiply;
anything black will be left alone, and lighter colors will lighten the image below.
Remember to turn Preserve Transparency on.
Other than that, the process is almost exactly the same for drawing highlights, but
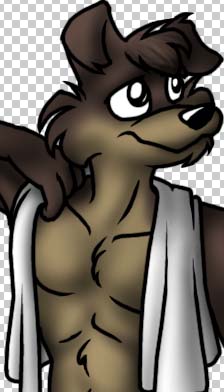
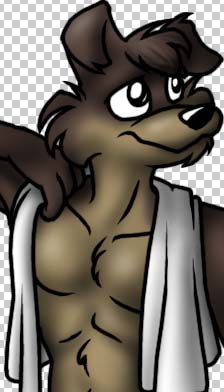
remember the key to good highlights is to be very subtle. Here's an example of our
Wolfy guy without and with highlights:
Without Highlights:
 |
With Highlights:
 |


