| Back: Long Fur | Home | Next: Transparent Surfaces |
| Al's Photoshop Tutorial | Advanced Concepts |
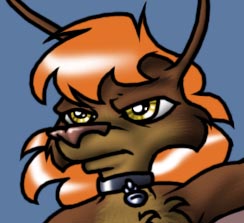
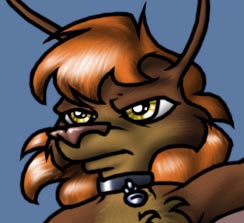
The first thing to do to achieve the effect of detailed, shiny hair is to
define where exactly the shine will fall. Keep in mind that hair is made
of many fibers flowing in the same way, so the shine they produce is not
the same as a shine that would be produced by a flat surface.
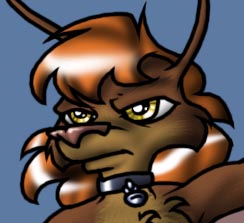
Here I've added the basic shading. I've made this a bit more intense than
I would otherwise, in anticipation of the heavy blending I will need to do.
Also, right now I'm not keeping the shade from overlapping the shine areas,
although in the end we'll have to make sure they aren't touching.
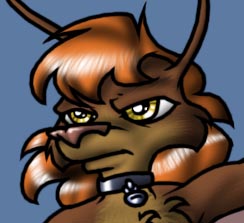
Before I start smudging, I'm going back over the shine on the highlight
layer with a black airbrush, using the many-dots brush. This will help
give the shine the broken look it needs.
Now I've used the many-dots brush and the smudge tool a little on the shine,
and a lot on the shade. It's important to keep the directions going the
same way between the layers.
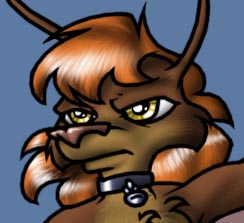
Lastly, I've erased bits of the shine where there's not enough light, and brightened up the shade layer around shine I wanted to keep.
That pretty much wraps things up for the hair. Next, we'll take a look at
transparent surfaces.
| Back: Long Fur | Home | Next: Transparent Surfaces |