| Al's Photoshop Tutorial | New Course (Versions 7.0 and above) |
Step 10: Backgrounds and Effects
Now that we're done with the character, we can do any number of things to
enhance its appearance. The things I did on my older tutorial
can still be done, but I'm going to go through some of my new favorites in sequence over the course
of a few pages.
The first thing I'm going to do is the same process I did in the old tutorial called
Natural Light Shading, where we change the shade and multiply
layers to more closely match an outdoors environment. In an outdoor daylight environment, there's a
strong blue ambient light caused by the sky. To simulate this, I've taken the shade layer and used
Levels on it, raising the minimum output bar on the master RGB channel, and to a lesser extent, the B
and G channels. This has made the shading a lot lighter and cooler. On the Highlight layer, we want
to simulate a bright sunshine. We do this with layers as well, lowering the high Input arrow on Master
RGB, R, and G.
Before:
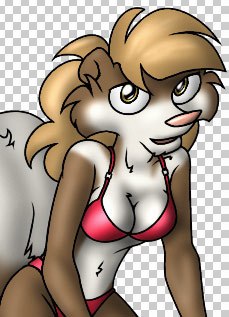 |
After:
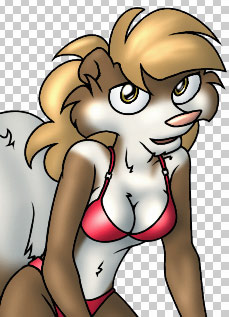 |